
Hitachi TX-200: Repair rattling shutter
A few weeks ago I just bought a new projector, after killing my old Sharp XG-P20 when I tried to get a lot of dust out of it. (Note to myself: Compressed air can destroy LCD panels).
I scored a TX-200 from Hitachi with juicy colors and very beautiful 720p panels. Inside the device, a little box with two metallic wings is sitting in front of the bulb – the shutter. These wings are closing theirselves in dark scenes which results in a perfectly dark black and excellent contrast.
There was just one problem: The shutter always clicked and rattled while opening or closing. Because of that I had a disturbing noise in my ear whenever there was a change of scene, which greatly minimized the enjoyment.
The cause of that is totally simple: A little plastic cog is sitting on the engine shaft and has broken because of the big heat emitting from the lamp. Of course there is no way to get this cog as one single piece, I would’ve had to buy the whole shutter for approximately 150 bucks.
I found another way. First of all, I had to open the projector (of course). As a reference point I looked at this manual whereas removing the whole mainboard isn’t neccessary – the shutter sits directly underneath a silver shielding piece:

The position I marked red is the engine, which I screwed out. After that, I removed the black faceplate:

After that, I bended the whole piece open with a little tool and removed the engine shat including the cog:

Now I took off the remaining pieces of the plastic cog, I was able to find little cracks between the cogs of the tooth that caused the noise.
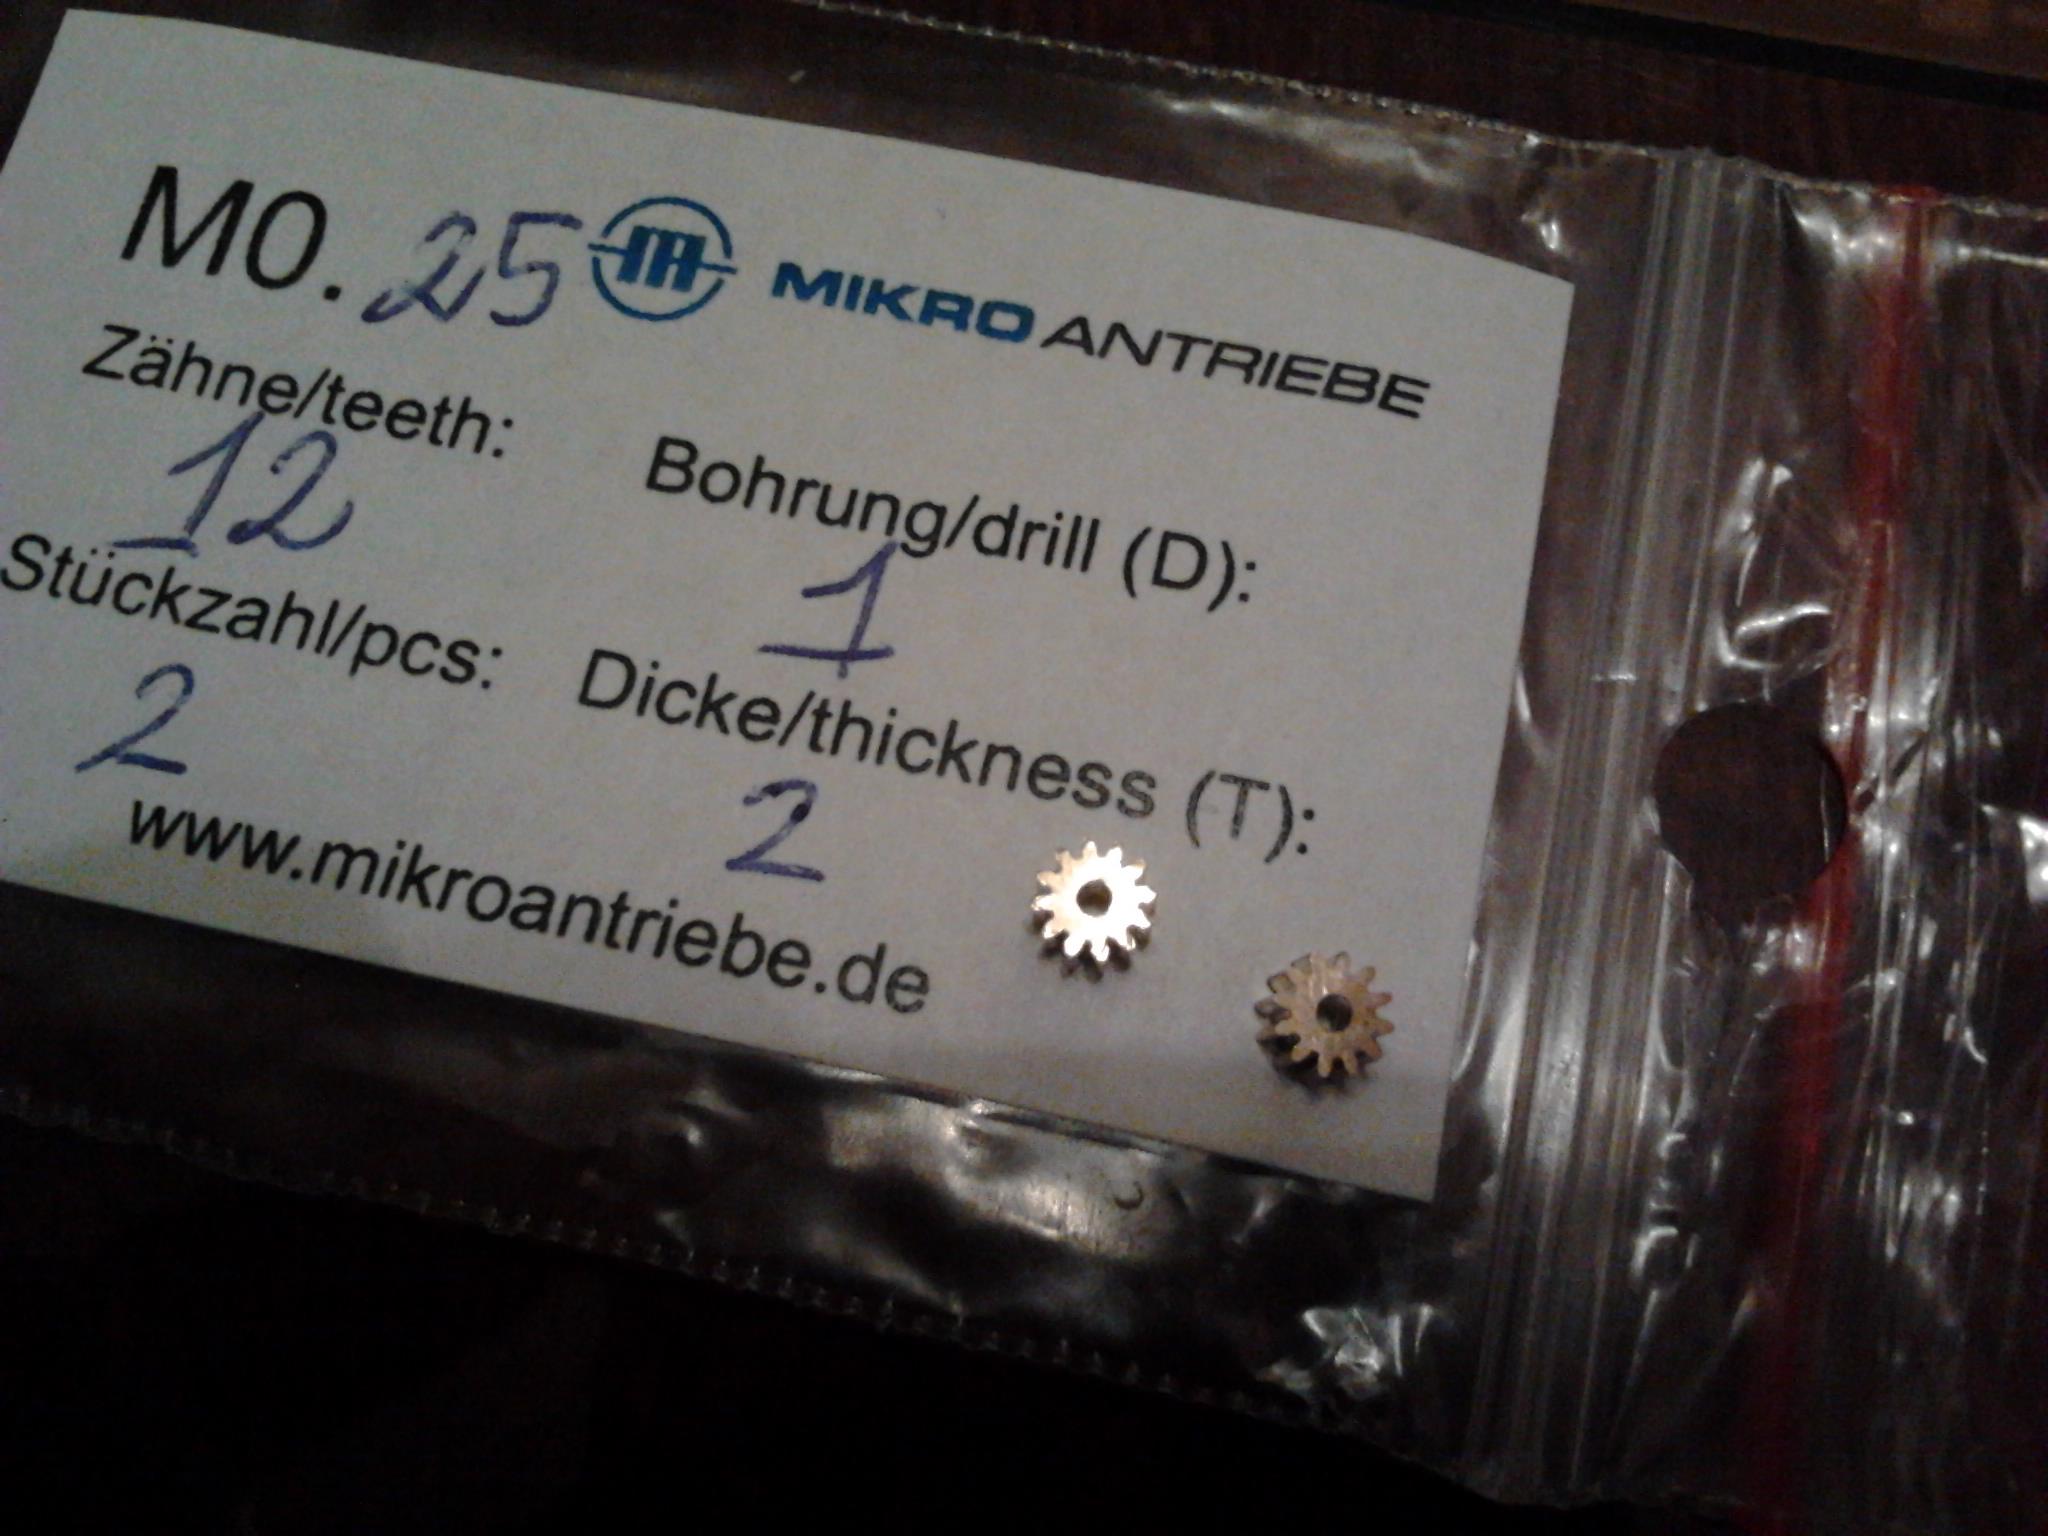
I measured the whole cog resulting in the following values: Diameter of the drill: 1.5mm, Depth: 3mm, Outer diameter: 3.5mm, 12 teeth, M0.25.
I ordered this cog at mikroantriebe.de – smart as I am, I ordered a brass-wheel instead of a plastic wheel so hopefully this thing will never ever break again and doesn’t have to be replaced anymore.
The re-assembly was simple. I chucked the cog into a vise and and used a hammer to get into onto the engine shaft. Now the projector is super silent again and the pictures are perfect. 🙂
Hallo,
sehr interessanter Bericht.
Mein TX200 zeigt die gleichen Anzeichen und ich möchte die
Reparatur ebenfalls selbst ausführen.
Eine Frage zum Messingzahnrad:
Im Text steht Bohrung 1,5mm aber auf dem Beipackzettel
von Mikro Antriebe dann Bohrung 1 ?
Welches haben Sie denn nun zur Reparatur genommen ?
mfg
Thomas
Hallo,
ich habe es so geordert wie es im Text steht – keine Ahnung warum es auf dem Beipackzettel anders aufgeführt ist. 😉
Wahnsinn, ich habe jetzt (sechs Jahre später) das selbe Problem. Bei meinem tx300 ist auch das Zahnrad gerissen und ich hatte keinen Plan wo ich ein Ersatzteil herbekommen sollte.
Danke für die ausführliche Beschreibung und den Link, ich hab das Rad gleich bestellt 🙂
Schöne Grüße,
Felix