
ClockworkMod 6.0.3.7 for the ZTE P752D/Smart Chat 865
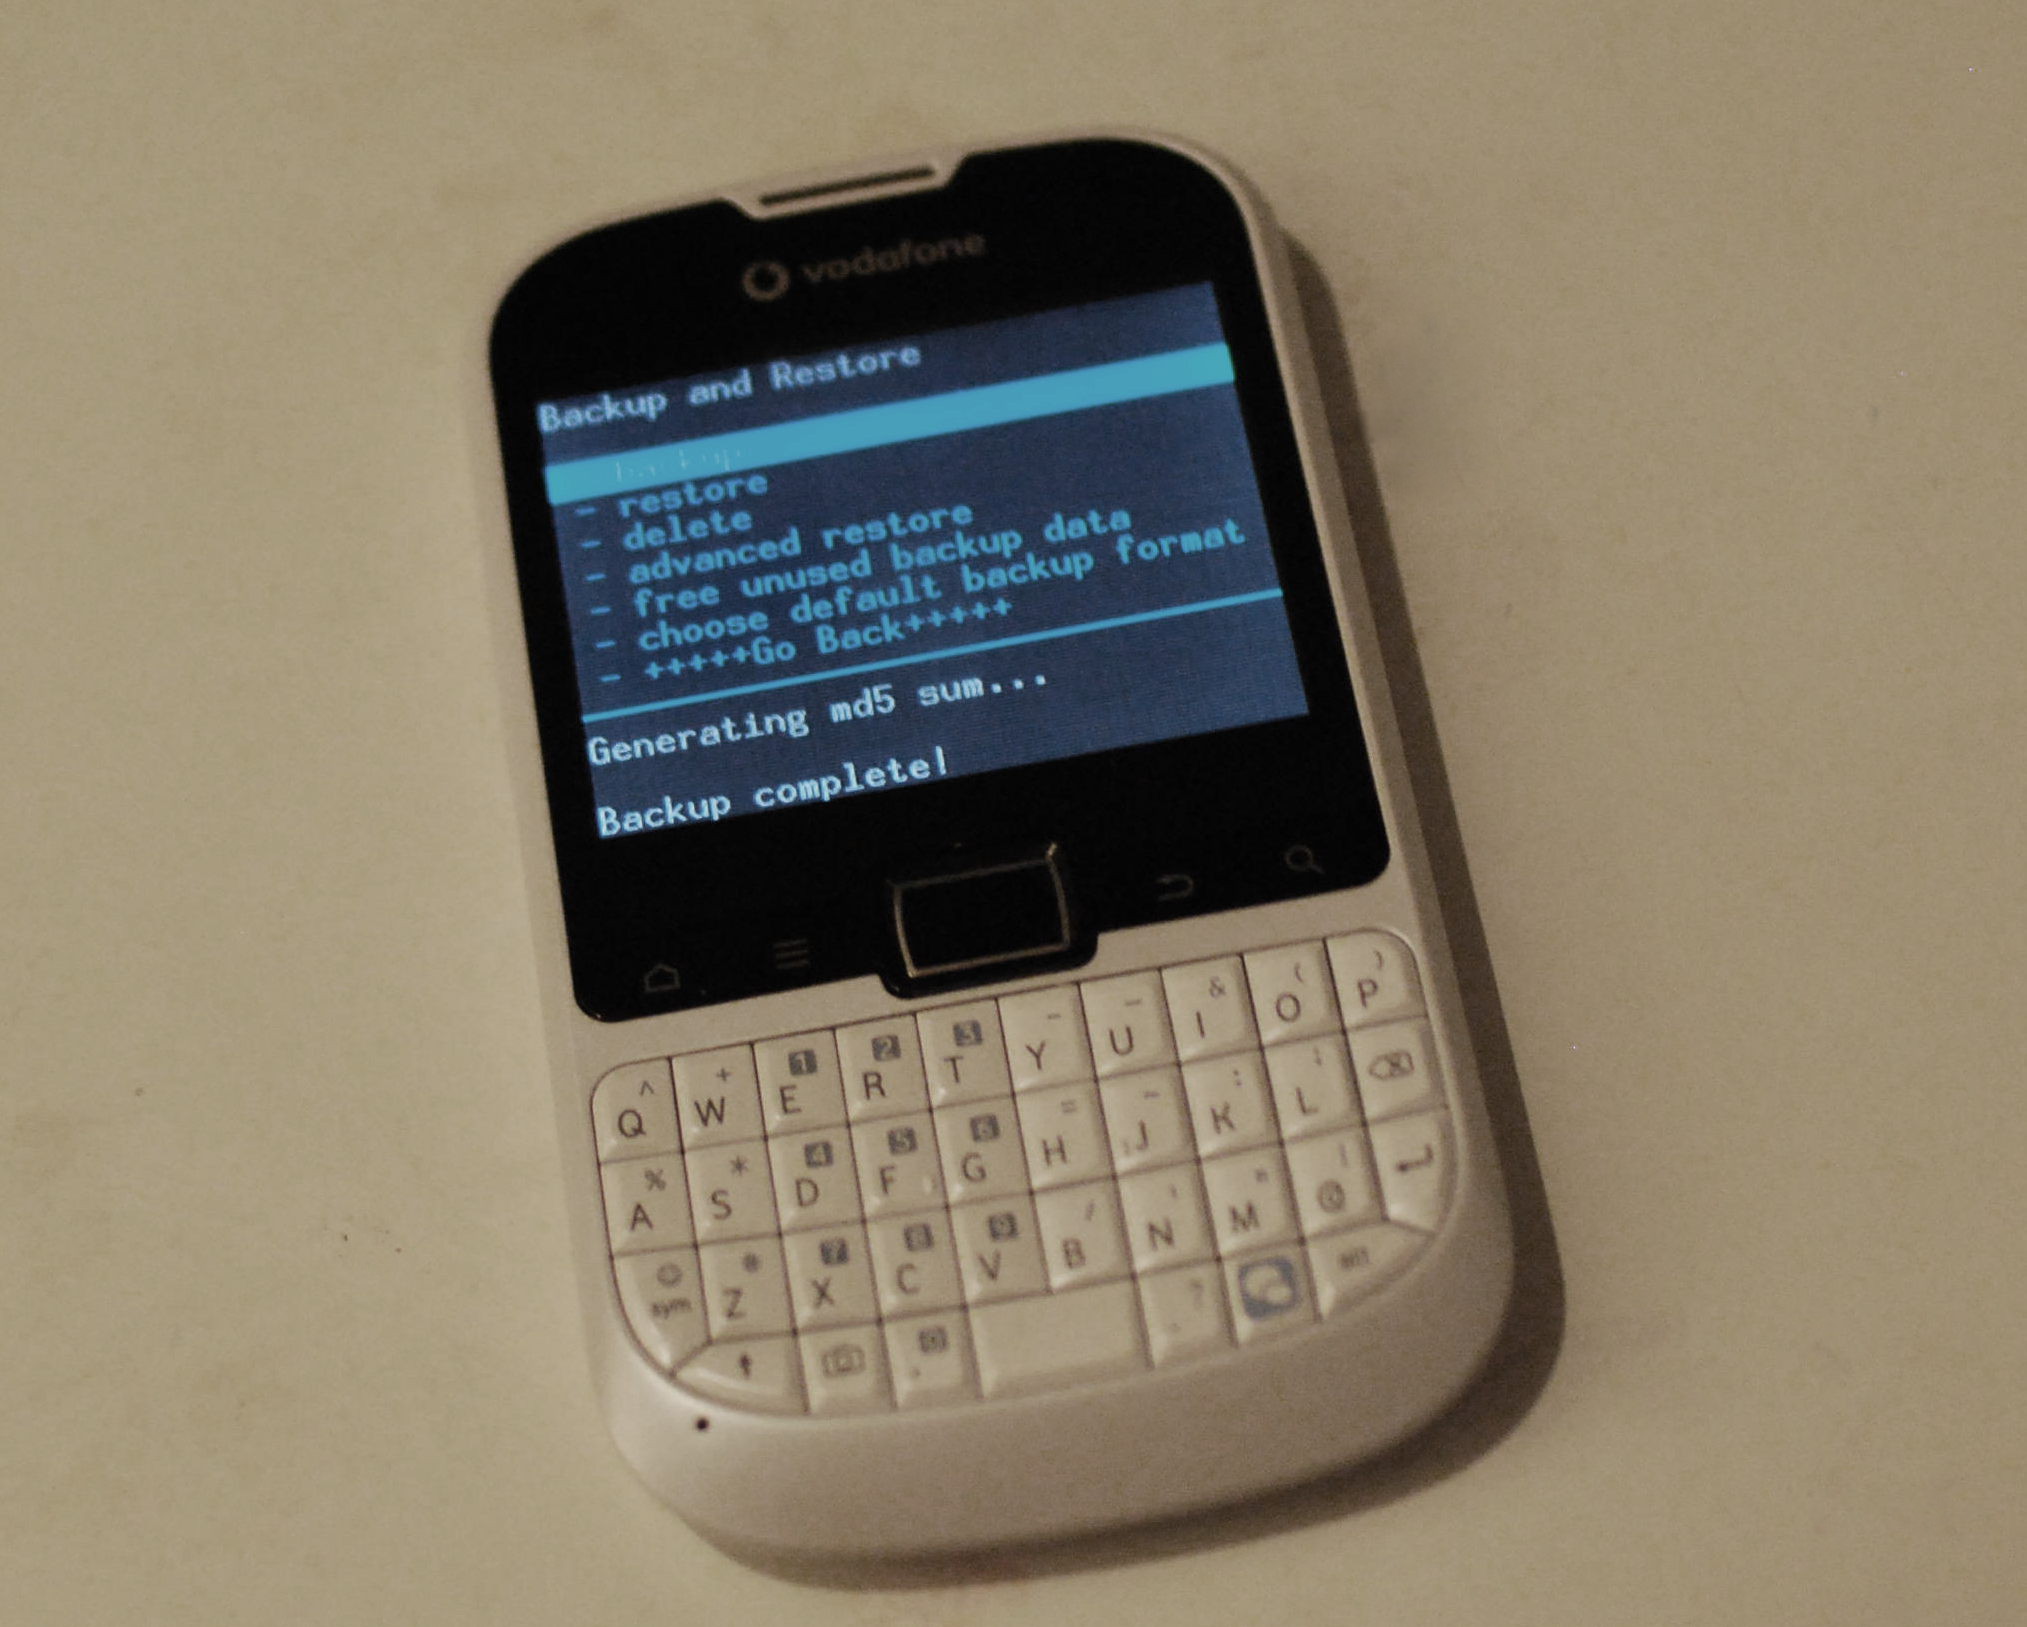
My journey of Android ports continues! Until I can seriously start programming the core Android system I need a backup solution in order to be able to restore the flash memory of the device, in case anything goes wrong.
ClockworkMod is doing this job pretty well – I wrote a little tutorial for flashing ClockworkMod on your own device:
- The device has to be rooted. You will find a tutorial on the bottom of this post.
- Copy my recovery.img onto your SD card, without any subdirectories.
- Open up a Terminal on the device and enter the following commands:
su
flash_image recovery /sdcard/recovery.img
reboot recovery
- Now you are inside of the recovery system. ClockworkMod is asking you to keep it before rebooting. Be sure to answer this with “Yes”, unless you want to end up in the useless default recovery system again.
You can start directly into CWM with [VOL UP] + [POWER].
How to root the ZTE P752D / Vodafone Smart Chat 865
Rooting this device is a bit more difficult, compared to the Tureis. There is an app called Poot which can do the job, but it took almost 10 tries before it did anything. Using the following method nothing can go wrong, but it is more difficult:
- Set up ADB on your computer, you can find a tutorial here.
- Copy my su-binary into the adb directory.
- Log into the shell of the device:
adb shell
- Set up the dirs, so shell owns them prior to logging. If shell does not own them then we can not control them. If the logs dir already exists, you may have to do a factory reset to remove them. They should not exist unless someone attempted this previously.
mkdir /data/local/logs
mkdir /data/local/logs/kernel
- Open emode’s logset activity. First button should be for enabling log set, enable it. Do not exit the activity, but if you do just repeat the below command.
am start -a android.intent.action.MAIN -n com.zte.emode/.logset
- Confirm the log_kernel.txt file exists, if it does not wait a minute and check again.
ls -l /data/local/logs/kernel/log_kernel.txt
- If it exists, delete it and immediately symlink it to /data/local.prop, logset may recreate it, if it does delete and try symlinking again.
rm /data/local/logs/kernel/log_kernel.txt
ln -s /data/local.prop /data/local/logs/kernel/log_kernel.txt
- Now we want to wait for /data/local.prop to be created, it may take a minute or two. Keep checking until it exists.
ls -l /data/local.prop
- Now once /data/local.prop exists, go back to the logset activity and disable logset. If you don’t disable it, it will slowly eat away at all the disk space, and possibly overwrite the local.prop before you get root. Now lets set qemu=1 then reboot.
echo 'ro.kernel.qemu=1' > /data/local.prop
exit
adb reboot
- Once you have rebooted, remount, install su.
adb remount
adb push su /system/xbin/su
adb shell chown 0.0 /system/xbin/su
adb shell chmod 06755 /system/xbin/su
- Clean up your mess and reboot. Done!
adb shell rm /data/local.prop
adb shell rm -r /data/local/logs
adb reboot
Parts of this tutorial are coming from xda-developers.
[…] Eine Anleitung dafür findest du hier. […]
I want to understand in the 11° part is repeatet the 10° is that correct?
I have however tried all it works well with linux to
sudo apt-get install adb save su under .android and do cd .android before beginning
I solved last part
adb shell rm /data/local.prop
adb shell rm -r /data/local/logs
adb reboot
The devices rebooted always whenever the wifi switched on before that
Yep, sorry. I’ve repeated the 10th in the 11th step. Fixed that now. 🙂
Hello, after rooting. I perform the steps for flashing recovery and it does not ask me anything and when I do “reboot recovery” it stays on the android icon. Then I make it react again but it loads the old recovery. I need help please