
Rooting the Unihertz Titan 2 and installing Magisk
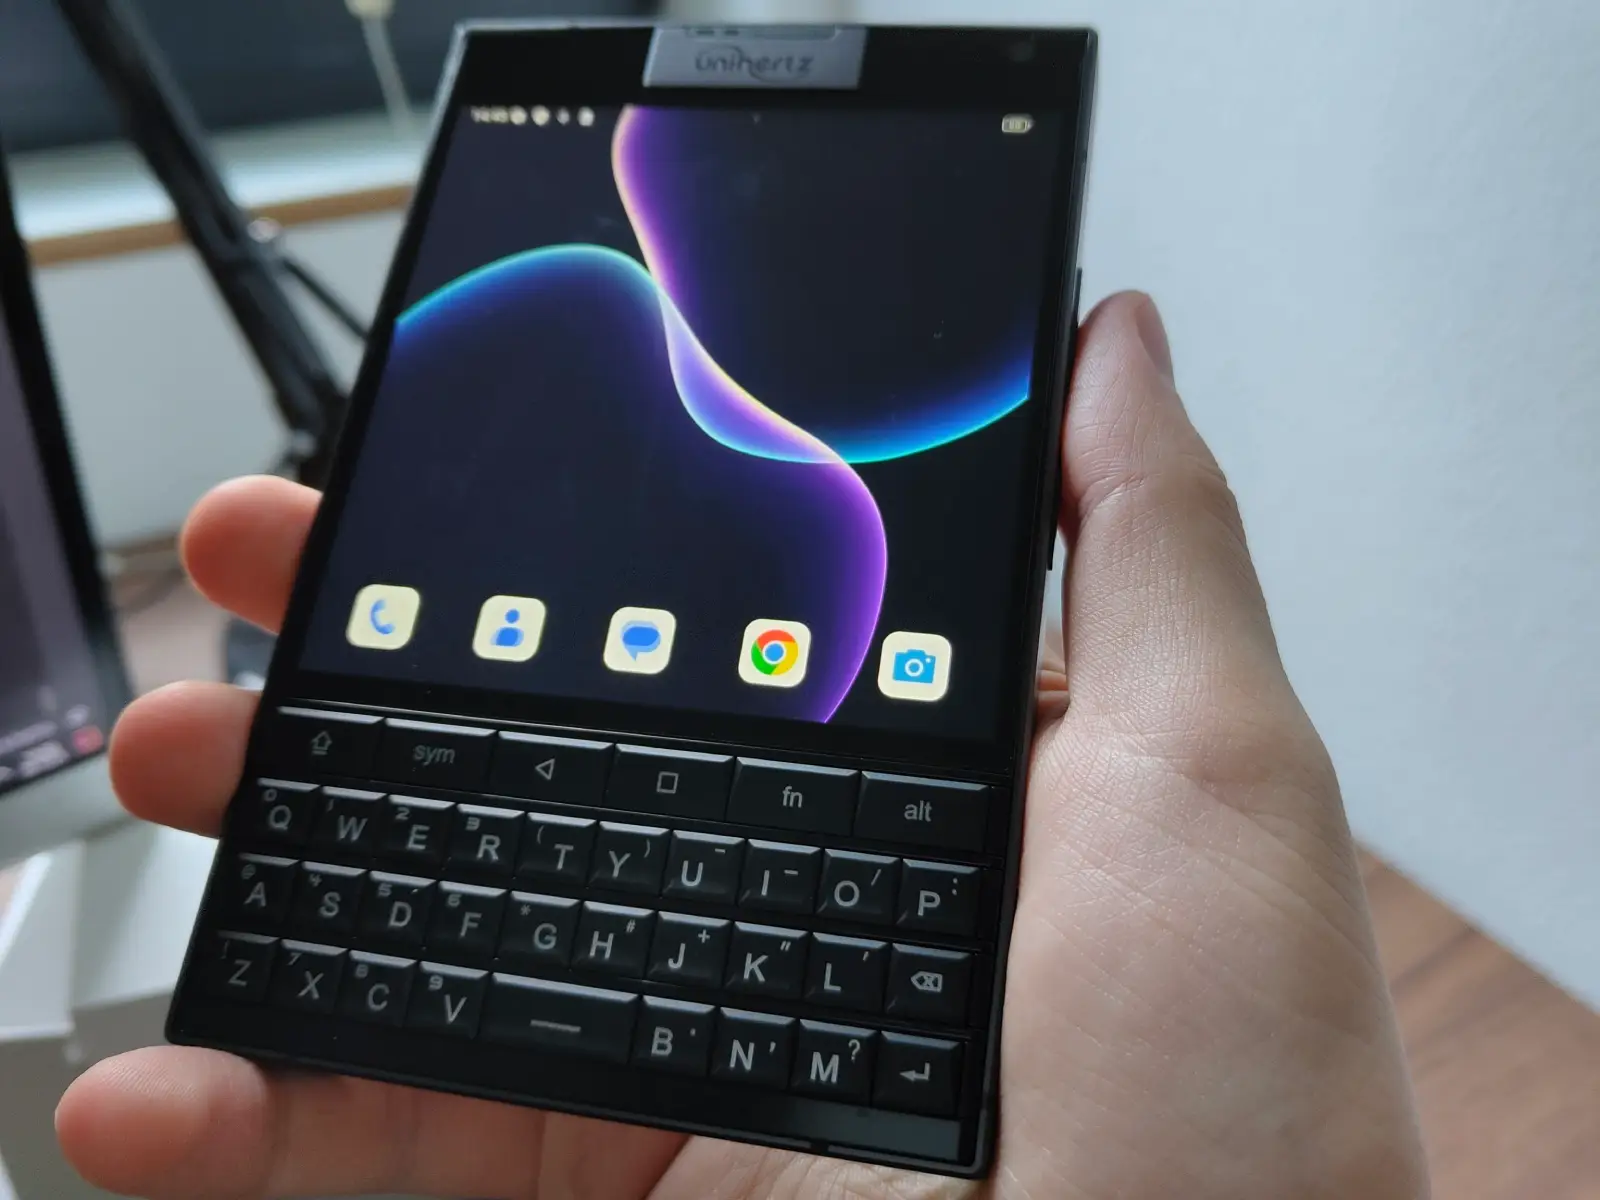
Today I finally received my Unihertz Titan 2 and the first thing I naturally do on a new Android phone is to root it, so I can install a system-wide adblocker (thank you, AdAway) and YouTube ReVanced Morphe (because I hate ads, shorts and other bullshit on that enshittified platform).
Notes for Windows users:
You will need adb, fastboot and the MTK USB Drivers (without the drivers, fastboot will not be able to find the device).
The easiest way to get those tools is probably to first install ADB & Fastboot++. Just fetch the .msi file and install it. Afterwards, get the MTK Auto Driver Installer v5.1632.00.zip and install it using the DriverInstall.exe included in the .zip file.
Here are the steps to root the Titan 2:
- Enable the Developer Options (tap on the build number in “About the phone” a few times).
- Go to Settings -> System -> Developer Options and enable USB Debugging as well as OEM Unlock.
- Get the Magisk.apk and install it.
- Get the firmware version currently running on your device and extract the init_boot.img from it.
- If you don’t know which version currently runs on your phone, see the section “Update to a new firmware version” below, it tells you the version number.
- If you cannot see your firmware on the Google Drive above anymore, you can access my mirror here.
- Copy the init_boot.img to the phone, run Magisk, patch it and then copy the patched image back to your PC (it’s called something like magisk_patched-29000_xxxxx.img)
- Run
adb reboot bootloader
on your PC.
- Wait for a little bit and then run
fastboot flashing unlock
and Press Vol Down on the phone to accept it.
- Now flash the patched boot image with
fastboot --slot all flash init_boot magisk_patched-29000_xxxxx.img
- Run
fastboot reboot
and you have a rooted device with Magisk. 🙂
Update to a new firmware version
When Unihertz releases a new firmware, the inbuilt updater (under Settings -> About the Phone -> System Update) will indeed tell you that there is an update, but trying to install it will not work – it only displays the loading bar for a bit and then jumps back to the initial screen.
This happens because of the patched init_boot.img. You will have to flash the stock init_boot.img back, reboot and then run the update.
Check the updater for the version you are currently running on the phone – in this case, it is EEA 20250902:

Download the firmware that starts with this date from here (or from my mirror), extract the stock init_boot.img from it and flash it:
adb reboot bootloader
fastboot --slot all flash init_boot init_boot.img
fastboot reboot
Now you can do the update. Afterwards, reinstall Magisk with the same steps as before (make sure to patch the init_boot.img for the new firmware version you installed).
If the inbuilt updater cannot find any new updates but you are sure a new one has definitely been released, download its OTA package from here and install it using the “Local Updates” function of the update tool.
you’re a legend! thank you! in one freaking day, I almost cannot believe it
Thanks for the useful guide! Have you already tried installing the latest update (Titan_2_EEA_V01.00.10_20251119-1618)? Is it possible when rooted or does one have to unroot (i.e. flash original boot.img) first?
You have to unroot (=flash back the original init_boot.img) for your software version, as described in the article. After that, you can do the update, patch init_boot, reflash it and root again. It works! 🙂
Ah gee, was that part about updating there before? lol, seems I had read the post a few days ago and forgot about the update bit, just remembering to make sure to confirm without having a thorough look again.. sorry, usually I do RTFM instead of lazy-asking 😅
Does rooting wipes the phone completely? using the titan as my daily driver; what are the consequences of rooted system?
Rooting does not wipe the phone, but unlocking the bootloader wipes it. Unlocking the bootloader has to be done only once, though. The consequences of a rooted system are: System-wide adblocker, much more useable apps with ReVanced and some apps might refuse to work (especially banking apps). You’ll have to decide for yourself if it’s worth it.
This is awesome, but… where did these firmware files come from? There’s no direct download option from Unihertz nor do they have checksums posted anywhere that I can see – how do we know they haven’t been tampered with? 🤔
The firmware files come from their official Google Drive account and they have been shared for years on Reddit, for example:
https://www.reddit.com/r/unihertz/comments/r2dz0a/unihertz_official_firmwares_ota_updates_drivers/
And since each update is signed and would not work with the updater without the correct signing key, there shouldn’t be anything to worry about.
I know it’s a bit shady that they upload software updates to a GDrive with a “tech-support” user (it’s actually tech-support@unihertz.com, GDrive flashes this email for a bit before hiding it, which must be the result of some super-great vibe-coding from an intern)…but oh well.
It’s a small Chinese company, they’re doing weird stuff. You bought a 200$ phone and shouldn’t expect too much “professionalism”. 😀
Haha, so true, which is why I’m not using it for anything until I have as much control over it as possible! 🤣 (And thanks for the info!)
Question: I’ve followed your instructions completely. Been through the process plenty of times. Somehow, when it comes time to press Volume Down, goes into fastboot, run the “fastboot –slot all flash” section, CMD says “directory not found”. What exactly could I be missing?
I believe “ADB & Fastboot++” creates its own shortcut you need to run. fastboot and adb will probably not work if you try to run them from a regular cmd on Windows. But if that doesn’t work, I’m out of ideas. 🙁
“Off-topic question: Is it possible to add another language to a physical keyboard? Note that I have tried many keyboard apps.
You should be able to do this with Pastiera, it’s a keyboard app made with the Titan 2 in mind: https://github.com/palsoftware/pastiera/releases.
That is nice. I hope this will be possible with the Titan 2 Elite as well. Adblocker and switching from google Services to micro-g would be my highest priority. Would this, in principle, be possible by just uninstalling google play and GMS and installing micro-g or would deeper changes be necessary?
If I remember correctly, people tried to uninstall the Play Services, but that makes the device bootloop for some reason. So fully de-googling doesn’t seem to be possible right now.